GET THE DOMAIN INTO MICROSOFT
The first thing to do is add the domain to the Microsoft 365 tenant.
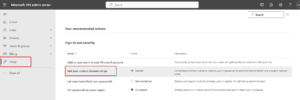
START AT THE MICROSFT 365 ADMIN AREA
https://admin.microsoft.com/
NAVIGATE TO DOMAIN SETUP
In the admin area, click “Setup” and then scroll down until you reach “Get your custom domain set up” and click there.
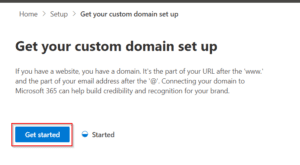
START DOMAIN SETUP
Click “Get Started” on the next page to initiate the setup.
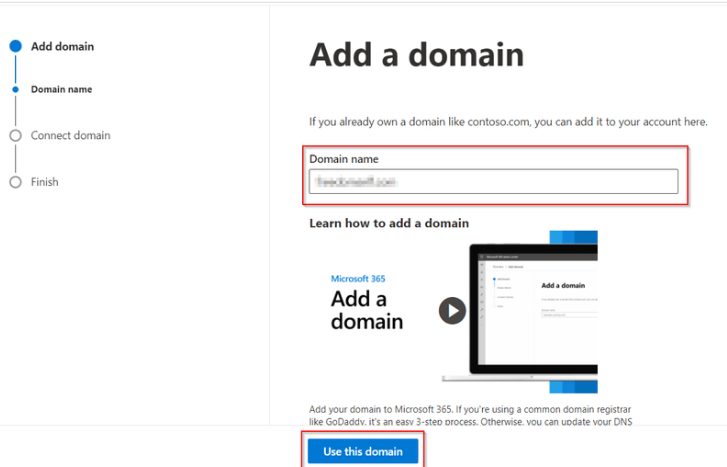
ENTER THE DOMAIN
Enter the domain name and click “Use this domain.”

ADD A TXT RECORD TO THE DOMAIN’S DNS
The TXT record is used to show ownership of the domain. Adding the TXT record will depend on where the domain is hosted unless you change nameservers. In this case, you need to add the TXT record where the nameservers are pointed. You can sometimes find a way to change DNS records by searching your hosting provider and DNS settings.
After selecting the option that works best for you, click continue to set up that option.
ADD A TXT RECORD CONTINUED
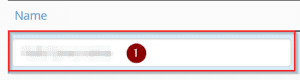
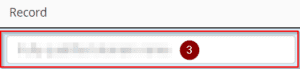
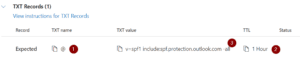
Once you get to the place to add a TXT record, here is how the field information aligns. Then click “Verify.”
Microsoft Information
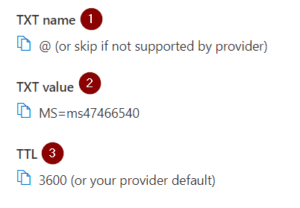
Adding a DNS Record
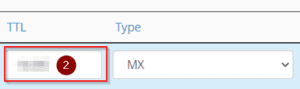
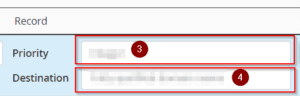
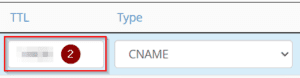
After adding the TXT record, the data may take up to 72 hours to update. So if you add the TXT record and it doesn’t show up immediately, then wait a little bit to verify again. When adding the record, you may need to adjust things according to the provider. For example, in #1, the @ symbol could be the domain. Or the #3 TTL could be a different required number. If that happens, go with the hosting provider’s information.

CONNECT THE DOMAIN TO MICROSOFT
Now that Microsoft has verified the domain, it is time to connect it to Microsoft so it can be used in various services.
START ADDING THE DNS RECORDS
Select “Add your own DNS records.”

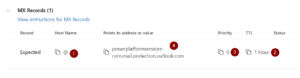
ADD MX RECORD
This record tells computers information about the email. In this case, we are telling computers where our emails are routed. As a heads up, if you have an email somewhere else using this domain, that account will no longer receive an email after this change is saved.
The MX record can be added in the same place as the TXT record.
Add a new MX record and the information below in the DNS settings. Similar to the TXT record, some information might be forced to a specific value depending on settings.
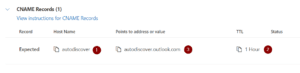
ADD CNAME RECORD
The CNAME or Canonical Name helps connect domain names to the actual domain. For this, it maps the Microsoft Exchange email to your domain name.
The CNAME record can be added in the same place as the TXT record.

ADD SPF RECORD
The SPF records help with identity protection. This record tells computers what servers can send emails with your domain. This way, if
someone tries to use your domain in a phishing attack, servers can detect something is wrong, and it is not you sending the email.
The SPF record can be added in the same place as the TXT record.
 ‘
‘
CONFIRM THE RECORDS
After adding all the DNS records, hit continue to move on to the next step.
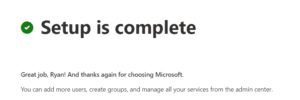
COMPLETE
You will get a complete setup message if all the records are added correctly. If there is an issue, then you will get a message outlining the
record and the issue.
If you need to delete a record, save the information beforehand if you need to change things. A screenshot or saving it as a TXT file will work
best.