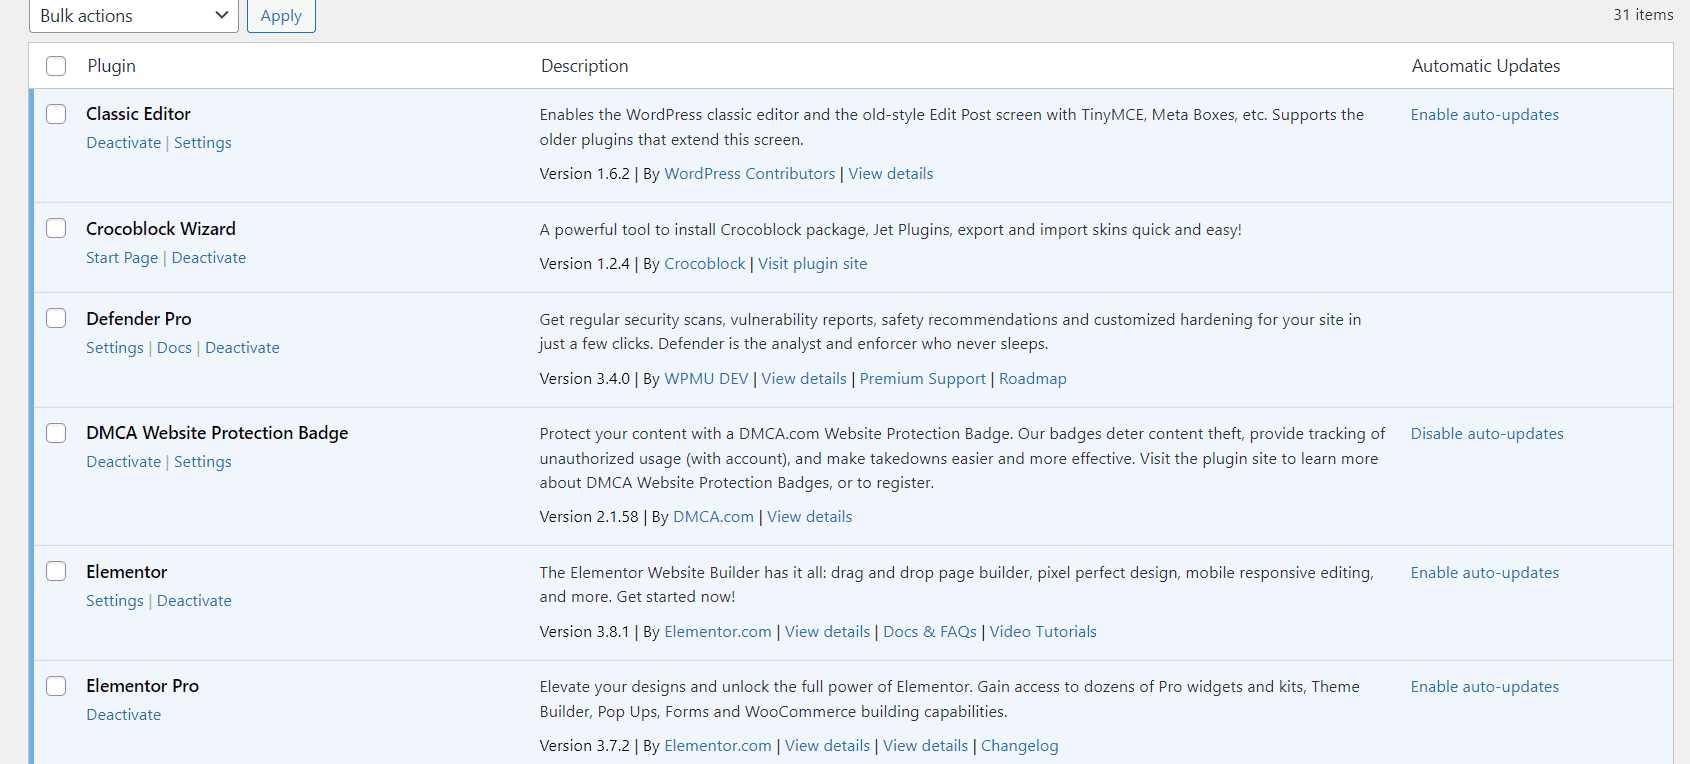
LOGIN TO WORDPRESS
Start by logging into WordPress and navigate to the plugins area.
WORDPRESS PLUGINS AREA
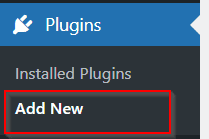
CLICK THE ADD NEW BUTTON
Clicking the button will take you to where you can upload or search for a plugin.

DECIDE IF THE PLUGIN NEEDS TO BE UPLOADED OR SEARCHED FOR.
Searching for plugins can be a great way to use free or freemium plugins. Plus, the plugins listed here are regulated by WordPress. The upload is for plugins downloaded from a publisher or purchased from a place like Envato. Or plugins you create yourself.
If you need to find a plugin in the repository, use option A. For a plugin that needs to be uploaded, use option B.
OPTION A PLUGIN FROM WORDPRESS REPOSITORY: SEARCH
With this option, start by searching for the plugin, then install and activate it. Perform a search by keyword, author, or tag. You can find the search bar in the upper right of the screen.

OPTION A: INSTALL
After finding the plugin, click “Install” in the upper right corner of the plugin’s description card.

OPTION A: ACTIVATE
Once the plugin installs, the button will change to “Activate.” Click the button to start up the plugin and be able to use it. As you can see, WordPress can keep plugin files but not have them activated. Remember that any plugin you want to work with must be installed and activated.
At this point, you can carry on working with the plugin. If you want another way to install a plugin, then continue. If your plugin is installed and activated, you can skip option B.
OPTION B UPLOAD A PLUGIN
Start by finding the file that needs to be uploaded. Not all plugins have the same file structure when downloaded. Some plugins can be uploaded to WordPress right away. Other plugins need to be found in the files and then uploaded. But do not worry; you will know how to find the correct files.
OPTION B FIND THE PLUGIN FILE
The first thing you need to do is find the plugin file. If the plugin file is ready to go, it can be uploaded to WordPress. If the plugin is hidden amongst other files, you will need to extract the files and find the plugin.
The downloaded file will likely be a zip file. First, find the zip file and see if the contents can be uploaded or need to be extracted.
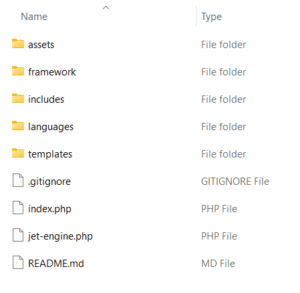
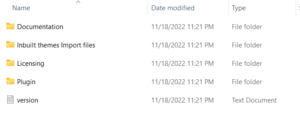
A plugin file ready to be uploaded will look like Image 1 or image 2. It will usually have files that pertain more to a computer. These are files with titles like templates, assets, CSS, js, index.php, lib, frameworks, and includes. A plugin may or may not have all of these folders. The actual files vary based on the plugin. But when navigating a plugin file, these names can indicate that you found the plugin.

OPTION B GETTING TO THE PLUGIN FILE
When you open a file with a plugin inside, it will likely look like Image 3. In this file, they show the plugin with a file named “Plugin.” As you can see, the other plugin files discuss licensing and documentation, something a person would be interested in.
OPTION B GETTING CLOSER TO THE PLUGIN
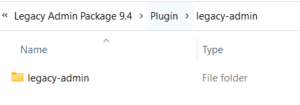
This plugin and its files do a great job of showing the next part of getting to the plugin file. Inside the file labeled “Plugin” is the plugin itself. You can see this in image 4. A big giveaway here is that this file is another zip file. That is because all the plugin files are compressed to this zip file. The zip file is also named after the plugin. Opening the zip file shows a regular file with the same name as seen in image 5. Opening that file then gets to the files in image 1. Plugins tend to have a zip file with the plugin name and the first child folder having the same name as the zip file it contains.

OPTION B GET THE PLUGIN INTO WORDPRESS
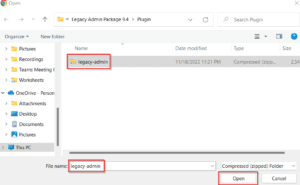
Now you can take the plugin’s zip file and upload it to WordPress. If you were using the plugin above, the first “legacy-admin” zip file would be the correct file to upload.
To get to the upload location, log in to WordPress, then go to “Plugins” -> “Add New.”

OPTION B START THE UPLOAD
At the top of the plugin screen, click “Upload Plugin” to start the plugin upload process.

OPTION B FIND THE FILE
This button opens a place to find and upload the plugin zip file. This is where you navigate to the zip file and select it to be uploaded.
OPTION B INSTALL THE PLUGIN
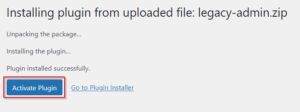
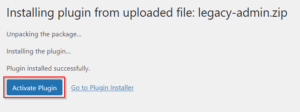
Once the correct plugin has been selected, click “Install Now” to get the plugin added to WordPress. After clicking, wait for a few minutes while. The page will load the plugin and reload. After the page reloads, the plugin can be activated.

OPTION B ACTIVATE THE PLUGIN
When the page reloads, click “Activate Plugin” to finish uploading the plugin.
If everything is expected here, you can continue configuring and using the plugin.
PLUGIN MAINTENANCE
Even though the plugin may be installed and configured, your work is not done. Make sure the plugin stays updated. This will help the site remain secure and prevent malicious actors from compromising the website.
